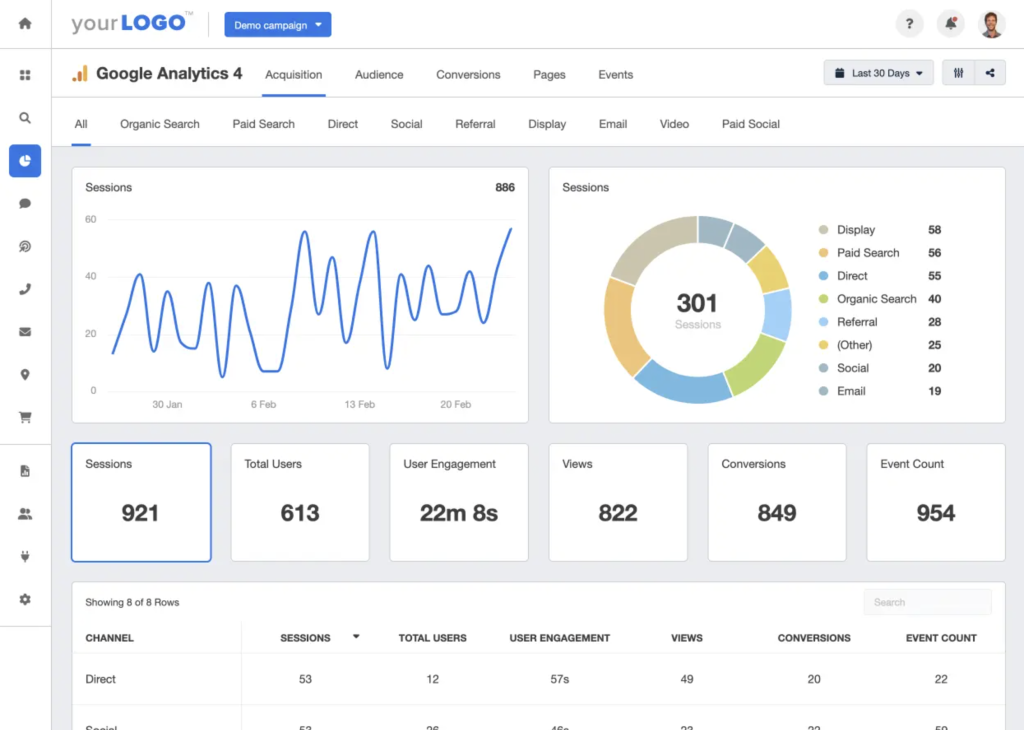
Google Analytics is an indispensable tool for tracking and analyzing user behavior on your website. With the introduction of Google Analytics 4 (GA4), Google has revamped its tracking capabilities, providing even more insights into user interactions. In this guide, we’ll walk you through the steps of setting up GA4 on your website.
Step 1: Create a Google Analytics 4 Property
- Log in to Your Google Analytics Account: If you don’t have an account, create one.
- Access the Admin Section: Click on the “Admin” option in the lower-left corner.
- Create a New Property: Under the “Property” column, click on the dropdown menu and select “Create Property.”
- Choose Property Type: Select “Web” as the property type.
- Enter Property Details: Provide your website’s name and URL. Adjust data sharing settings based on your preferences.
- Create the Property: Click the “Create” button to generate your GA4 property.
Step 2: Set Up Data Streams
- Access Data Streams: In the “Property” column, click on “Data Streams.”
- Add a New Stream: Click “+ Add Stream” to set up a data stream for your website.
- Select Platform: Choose “Web” as the platform for your stream.
- Enter Website URL: Input your website’s URL.
- Configure Stream Settings: Enable enhanced measurement if desired and configure other settings.
- Create Stream: Click “Create Stream” to finalize the data stream setup.
Step 3: Add Tracking Code to Your Website
- Copy the Tracking Code: In your newly created data stream, Google will provide a tracking code snippet (JavaScript). Copy this code.
- Access Your Website’s HTML: Open the HTML source code of your website.
- Paste the Code: Paste the tracking code snippet just before the closing
</head>tag on each page where you want to track user activity.
Step 4: Verify Tracking Installation
- Check Data Streams: Return to your Google Analytics account and navigate to the “Data Streams” section to ensure that your stream is active and receiving data.
- Confirm Installation: You should see a green checkmark indicating that your data stream is properly installed and working.
Step 5: Customize Event Tracking (Optional)
- Define Custom Events: GA4 emphasizes event tracking. Use the
gtag()function in your website’s JavaScript to define custom events that align with your goals (e.g., button clicks, form submissions).
Step 6: Explore Reporting
- Wait for Data: It may take some time for data to populate in your GA4 reports.
- Navigate Reports: Once data is available, explore various reports in the GA4 interface to gain insights into user behavior, demographics, events, and more.

Setting up Google Analytics 4 on your website provides valuable insights into how users interact with your content. By following these steps, you can seamlessly integrate GA4 and start tracking user behavior effectively.